Raspberry Pi 4 Setup - External USB SSD

When I saw that you could get an 8BG Raspberry Pi for under $100, I was very intrigued. That is a lot of memory for such a cheap little computer. My goal is to set this thing up and use it for some experiments and possible use it for running services instead of my big desktop server.
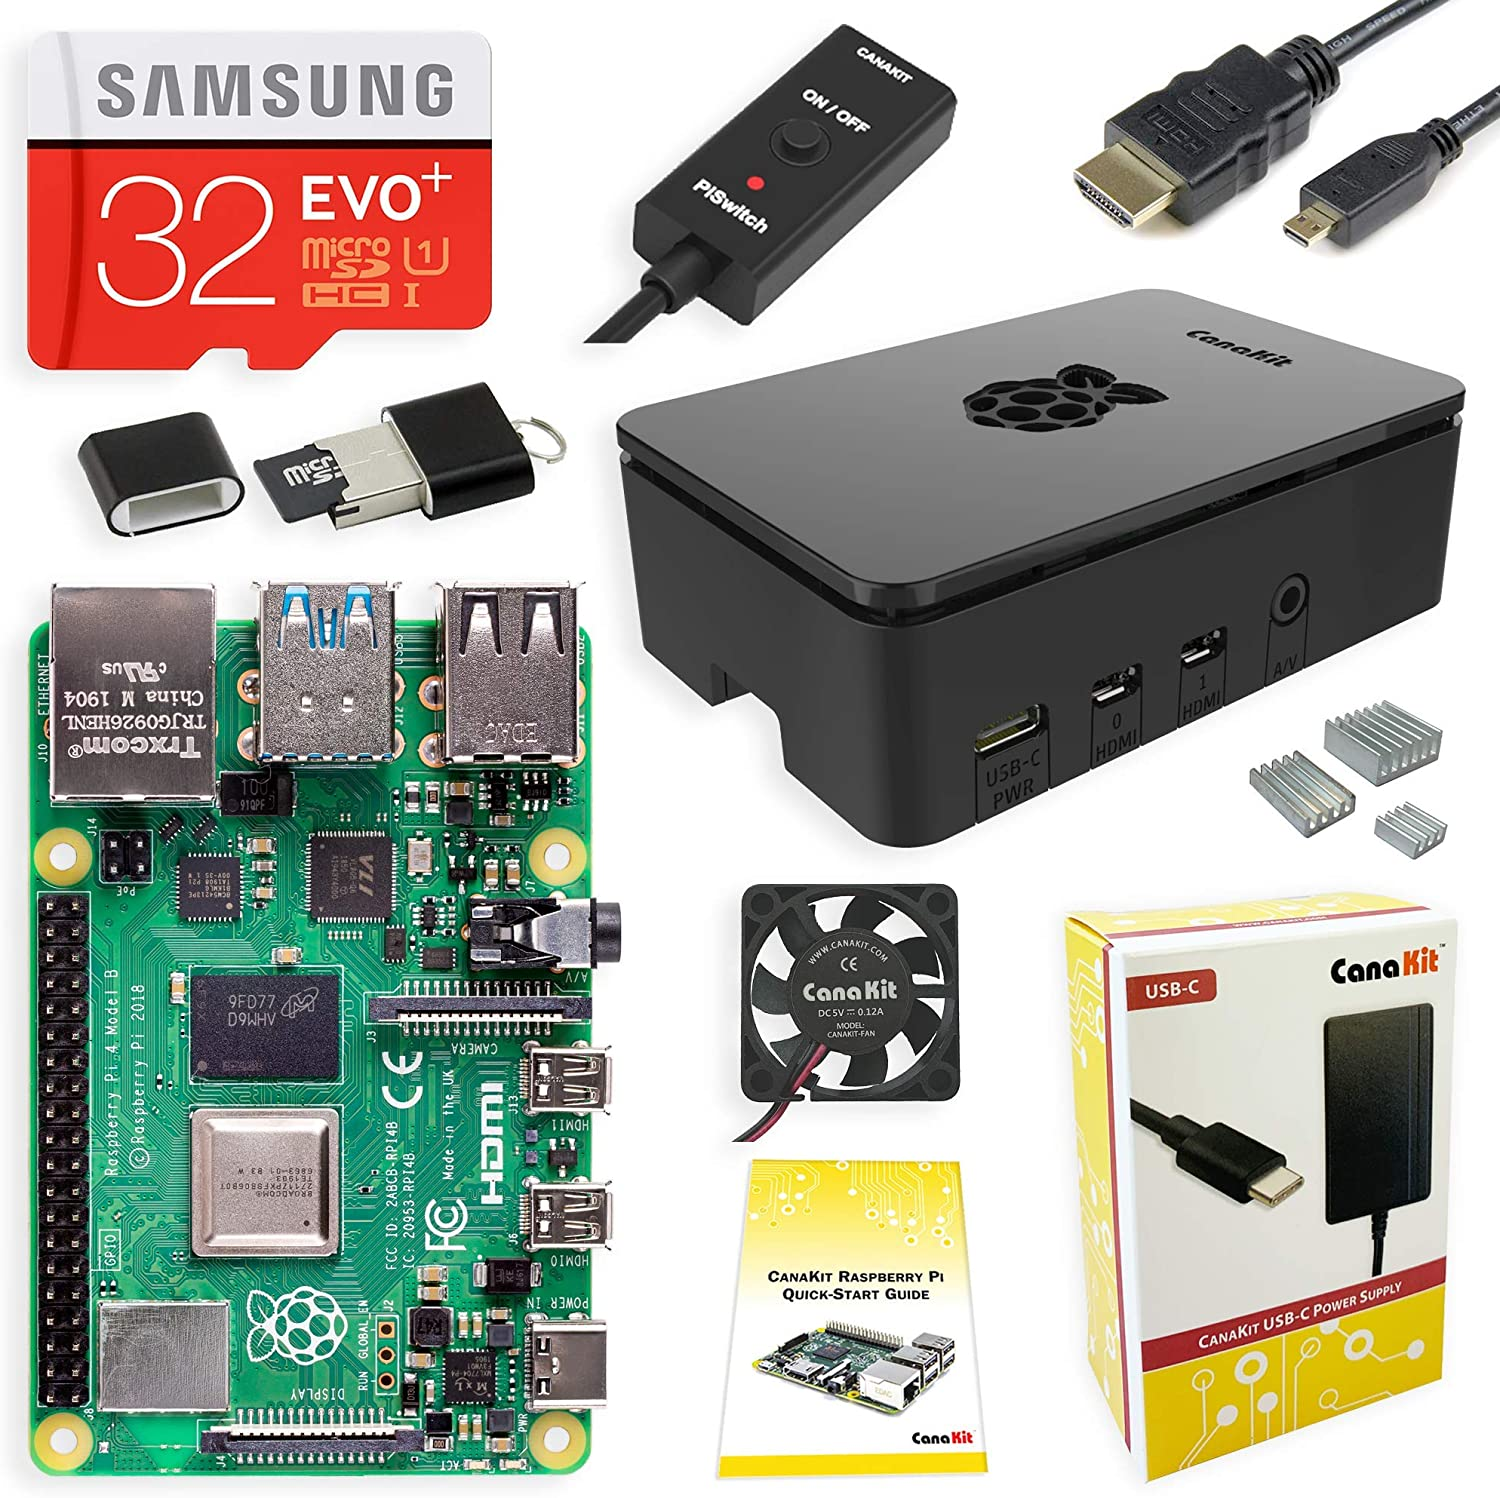
I ended up purchasing $280 worth of equipment for this. I opted to go with a starter pack for the Pi which included the computer, a case, power cord, SD card, etc. Everything you need to get it started was included.
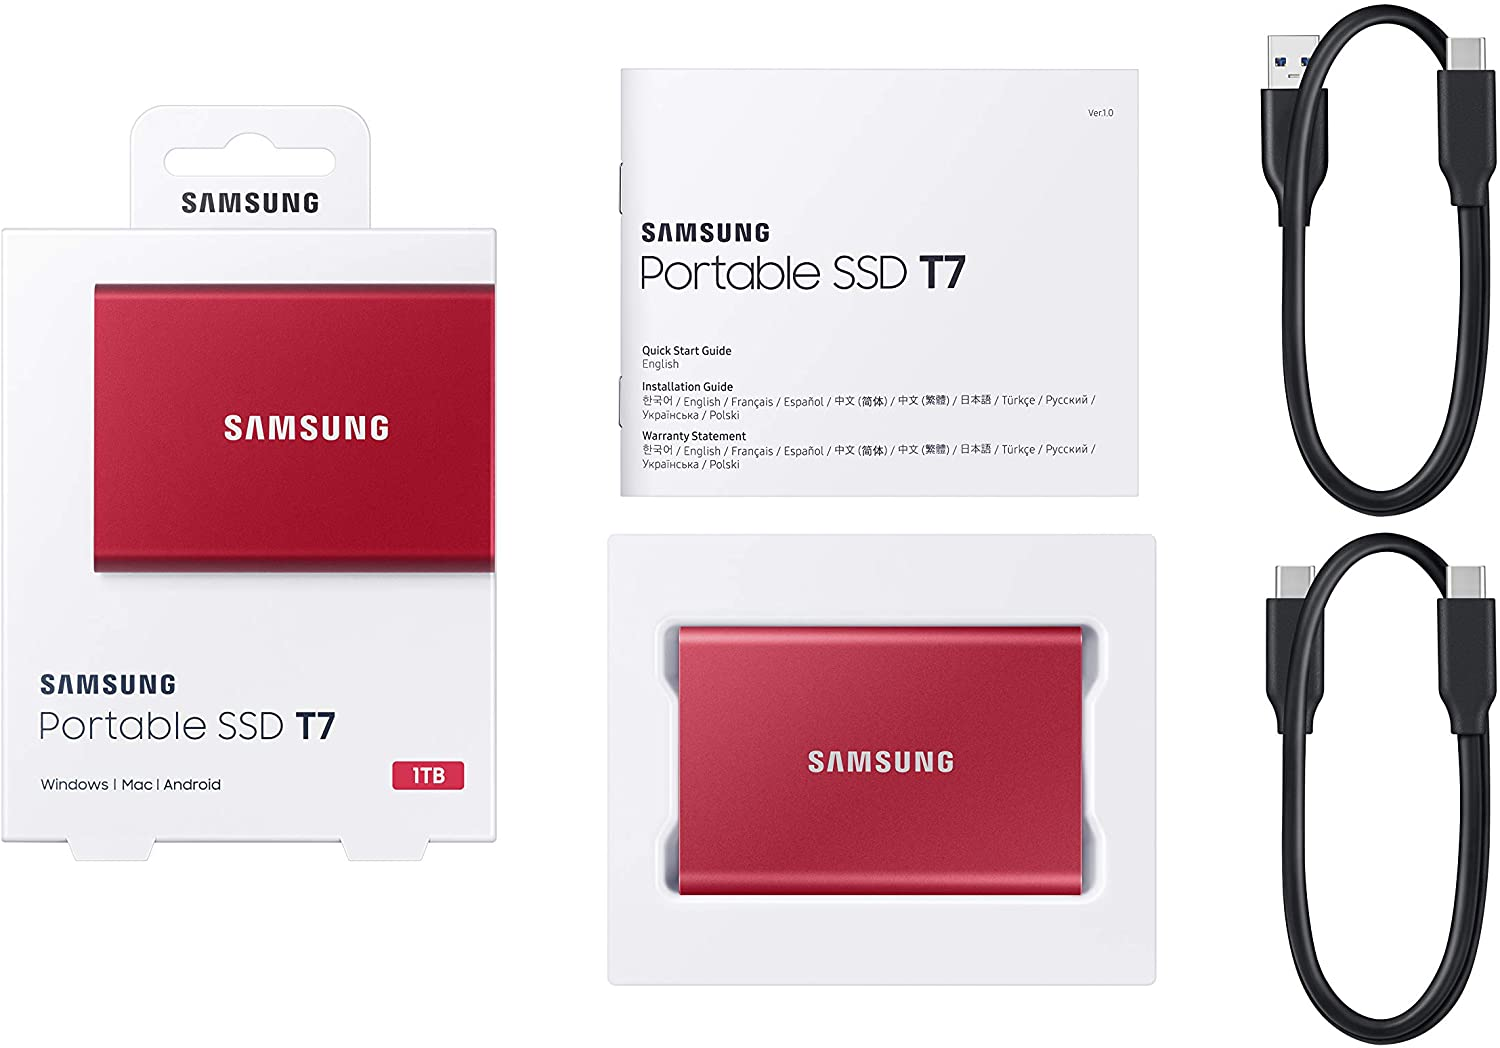
For the hard drive, I opted to go with a 1 TB SSD that can be plugged in via bluetooth. I may be running crypto nodes on this, so I wanted a super fast drive and a lot of space to play with.
Costs
To get going, I put the kit together according to the instructions. Everything was super simple and I connected all the wires and the power supply and booted it up.

This is apparently a Rainbow Screen of Death. I thought maybe the SD card was not flashed properly, but it turns out I just had the HDMI plugged into the wrong port (not the primary closest to the power port).
OK, so here is where a huge time waste happened. I was hoping to use the external USB SSD drive as the boot partition. This would allow everything to run from the USB which would be way faster than the SD card. Unfortunately, this is not yet officially supported and is coming soon (TM).
The problem is that I want to run Ubuntu so this device behaves exactly like all my other setups and I don't have to learn a new flavor of Linux. Since the USB support has not been officially released there are a bunch of articles online saying "technically you can make this work". I went down that route for about 3 hours and decided to give up.
I will come back to it once USB booting is supported in the main release for Ubuntu. Until then I will boot Ubuntu from the SD card and just store all programs and data on the external USB.
So let's do it. I started with a tutorial on how to flash the SD card with Ubuntu. There is a Raspberry Pi imager tool that does everything for you.
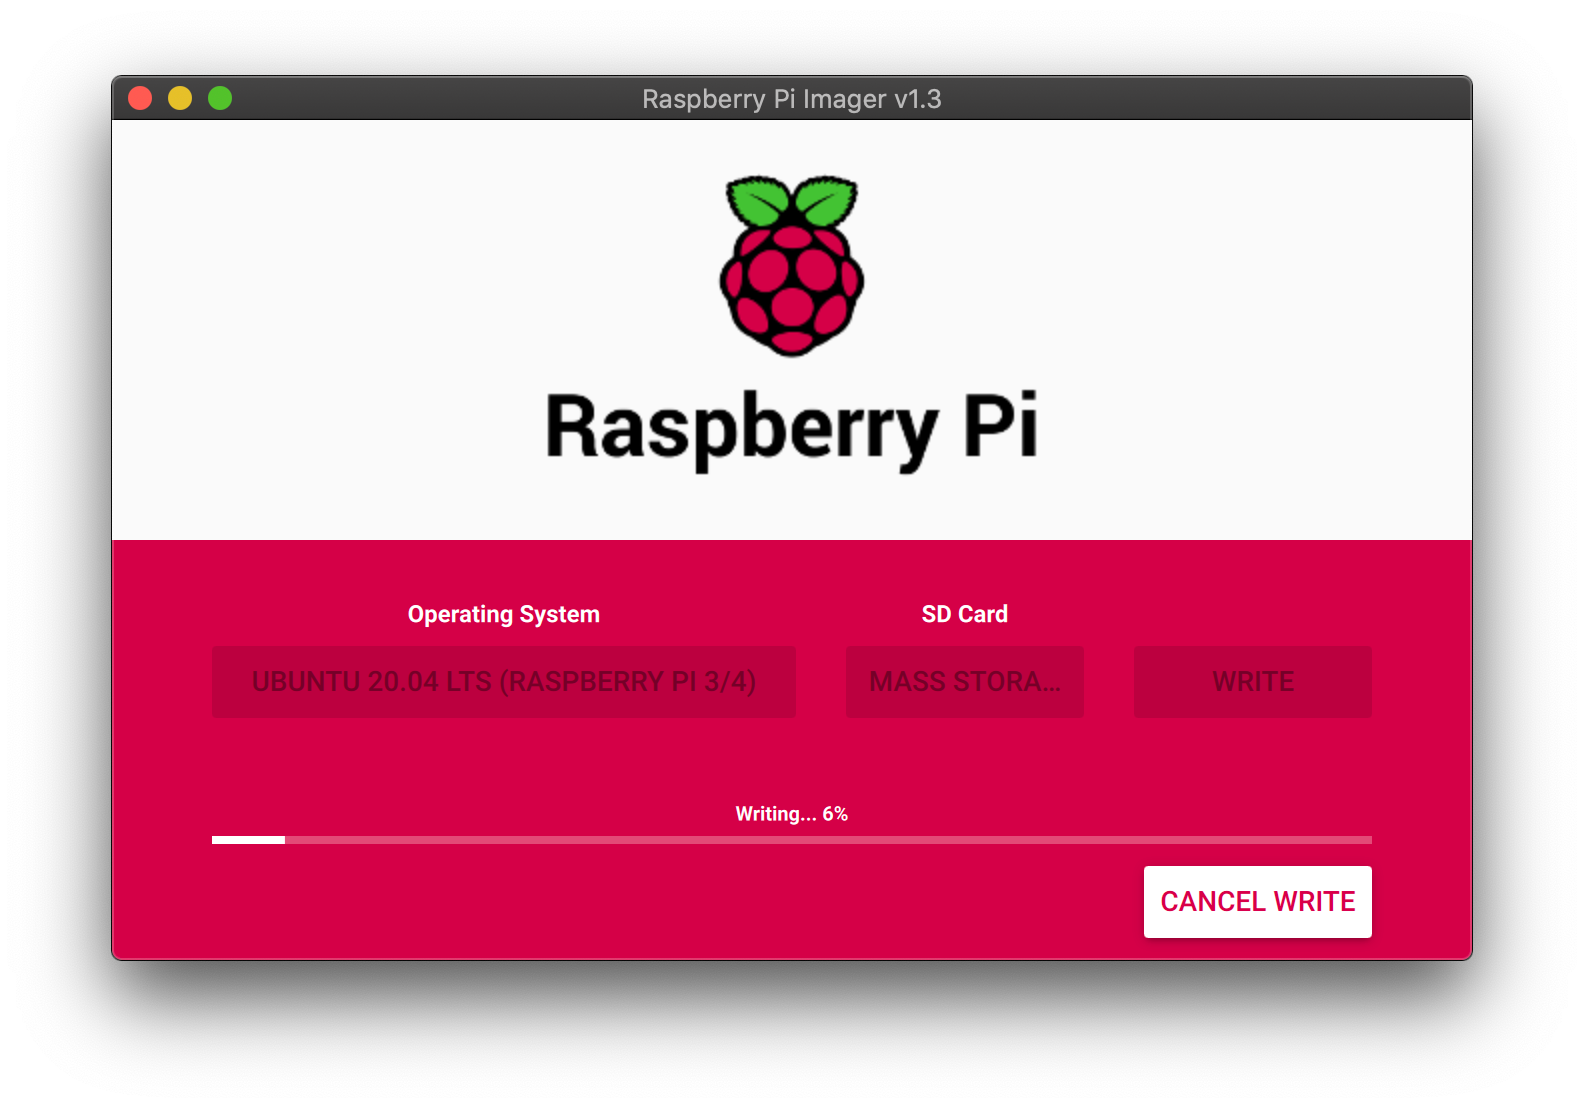
The confusing thing was that the arm64 version was not the default choice. I decided to go with it anyways since you need 64-bit support in order to access the full 8 GB of RAM. 32-bits of address space is not enough.
This process was straight forward. I imaged the SD card, popped it in, and booted up.
Then it asked for login credentials??? After googling around I found the default username/password combo is ubuntu/ubuntu.
After I got in, I couldn't update packages for some reason... it looks like an automated upgrade kicks off and blocks the interactive session from doing anything. I waited for this to complete and then manually made sure all packages were up to date.
Next, I need to set up the USB drive as 1 large partition and format it to EXT4.
First I used fdisk to see what the device name was
$ sudo fdisk -l

Disk /dev/sda: 931.53 GiB, 1000204886016 bytes, 1953525168 sectors
Disk model: PSSD T7
Units: sectors of 1 * 512 = 512 bytes
Sector size (logical/physical): 512 bytes / 512 bytes
I/O size (minimum/optimal): 512 bytes / 33553920 bytes
Disklabel type: dos
Disk identifier: 0x87c6153d

Device     Boot  Start     End Sectors  Size Id Type
/dev/sda1  *      2048  526335  524288  256M  c W95 FAT32 (LBA)
/dev/sda2       526336 6255439 5729104  2.7G 83 Linux
Next I edited the device
sudo fdisk /dev/sda
Use "p" to print the config
Device     Boot  Start     End Sectors  Size Id Type
/dev/sda1  *      2048  526335  524288  256M  c W95 FAT32 (LBA)
/dev/sda2       526336 6255439 5729104  2.7G 83 Linux
Delete both partitions by using "d" command twice
- Create a new partition by using "n" and accept all defaults to use the full drive, then "w" to write it out
Device     Boot Start        End    Sectors   Size Id Type/dev/sda1       65535 1953525167 1953459633 931.5G 83 Linux

Command (m for help): w
The partition table has been altered.
Calling ioctl() to re-read partition table.
Syncing disks.
Next I wanted to format it to ext4
$ sudo mkfs.ext4 /dev/sda1

Allocating group tables: done
Writing inode tables: done
Creating journal (262144 blocks): done
Writing superblocks and filesystem accounting information: done
Finally, make a mount folder and mount the device
 $ sudo mkdir /media/samsung

 $ sudo mount /dev/sda1 /media/samsung
We can view the disk usage with "df"
$ df -h
Filesystem      Size  Used Avail Use% Mounted on
udev            3.8G     0  3.8G   0% /dev
...
/dev/sda1       916G   77M  870G   1% /media/samsung
Bonus: Install htop and pydf as tools that I like to use.
Once the Ubuntu boot from USB is supported I may rebuild this so the SD card is not in play anymore. This would speed things up in general as well.